
Top WordPress Backup Solutions for 2026
Best WordPress Backup Solutions for 2026
Want to keep your WordPress site safe? This guide will show you the top backup tools for 2026. You'll learn how to pick the right one to protect your site from data loss. We’ll cover easy steps and smart tips to make sure your site is always secure. Don’t let a crash or hack wipe out your hard work. Read on to find the best way to back up your WordPress site.
Disclosure: This article contains This is an affiliate link. We may earn a commission at no cost to you.
affiliate links. We may earn a commission at no extra cost to you.
Introduction

We recommend trying NordVPN. Get NordVPN.
Backing up your WordPress site is super important. In this guide, you’ll learn how to keep your site safe with the best backup solutions in 2026. We’ll explore different tools and methods to make sure your site is always protected.
For best results, consider Cloudways. Try Cloudways.
You'll find out why backing up is vital. Imagine losing all your content because of a crash or hack! With the right backup, you can restore your site in minutes. We’ll show you how to pick the best tool for your needs.
Before you start, you should know how to log into your WordPress site. You’ll also need some basic computer skills. Don’t worry—this guide is for everyone, even if you’re not a tech expert.
This guide will take you about 30 minutes to read. By the end, you’ll know how to back up your site like a pro. So, let’s get started and keep your WordPress site safe!
What You Need

Before you start backing up your WordPress site, you’ll need a few things. Having the right tools and accounts is important for a smooth process.
First, you’ll need a good backup plugin. Some popular choices are UpdraftPlus, Jetpack, and BackupBuddy. These plugins help you save your site data easily. Most of them offer free and paid plans. The free plans usually cover basic needs, while paid plans offer extra features.
You’ll also need storage space for your backups. You can use services like Google Drive, Dropbox, or Amazon S3. These services let you store your backups safely. Many plugins let you connect to these services directly.
Lastly, make sure you have access to your WordPress admin account. You’ll need it to install and set up your backup plugin. If you don’t have access, ask your site admin for help. Having everything set up will make your backup process much easier.
Step-by-Step Guide
1. Choose a Backup Plugin
First, you need to pick a backup plugin for WordPress. There are many to choose from, like UpdraftPlus or BackWPup. These tools help you save your site data.
Check the features each plugin offers. Some plugins let you choose where to store your backups, like Google Drive or Dropbox. Others might only save them on your computer. Think about what you need most.
2. Install the Plugin
After picking your plugin, it's time to install it. Go to your WordPress dashboard. Click on “Plugins,” then “Add New.” Search for your chosen plugin by name.
Once you find it, click “Install Now.” After it installs, click “Activate.” Your plugin is now ready to use.
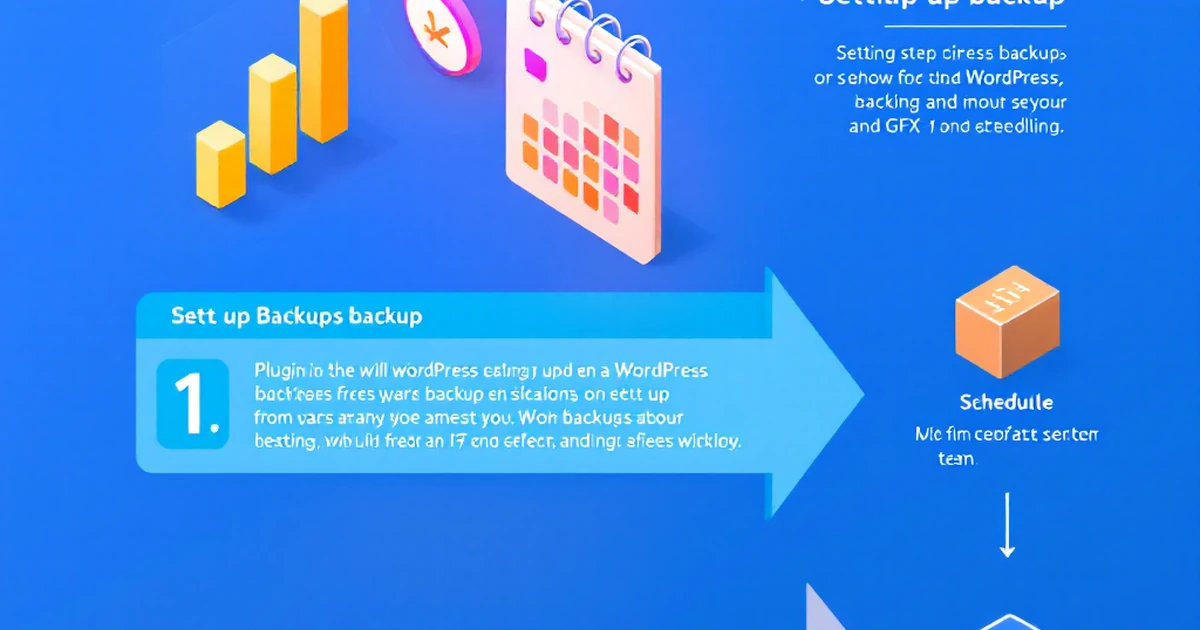
3. Set Up Backup Schedules
Next, you'll set up how often your site backs up. Most plugins let you pick daily, weekly, or monthly backups. It's smart to back up daily if you update your site a lot.
Go to the plugin settings and find the schedule option. Choose the schedule that fits your needs. Remember, more frequent backups mean more storage space used.
4. Select Backup Content
Decide what part of your site you want to back up. Some plugins let you back up everything, but you can also choose just the database or files.
For full safety, it's best to back up everything. This includes your posts, pages, images, and settings. Check the options in your plugin settings and pick what you need.
5. Choose a Storage Location
Pick where you want your backups stored. You can save them on your computer or use cloud storage like Google Drive or Dropbox.
Using cloud storage is smart because it's safe if your computer breaks. Go to the plugin settings and find the storage options. Connect your plugin to your chosen storage.
6. Run a Test Backup
Before you rely on your backup system, run a test. This makes sure everything works right. Go to the backup section in your plugin and click “Run Backup.”
Wait for the process to finish. Once it's done, check if the files are saved in your chosen location. This step is key to knowing your backups will work when needed.
7. Check Backup Files
Many professionals trust Equalize Digital Accessibility Checker for wordpress accessibility checker plugin with detailed reporting. Try Equalize Digital.
After running a test backup, check your files. Go to the location where you saved them, like Google Drive or your computer.
Open the backup and make sure all data is there. Look for your posts, pages, and images. If something is missing, you may need to adjust your settings.
8. Restore a Backup
It's crucial to know how to restore a backup. This will help if something goes wrong with your site. In your plugin, find the “Restore” option.
Follow the steps given by the plugin to bring back your site. Practice this step so you feel ready if you ever need it.
9. Keep Your Plugin Updated
Plugins get updates to fix bugs and add new features. It's important to keep your backup plugin updated. Go to “Plugins” on your dashboard.
If there's an update, you'll see a notice. Click “Update Now” to keep your plugin working well. This step keeps your backup system running smoothly.
10. Review Your Backup Plan Regularly
Finally, review your backup plan every few months. Make sure it's still right for your needs. Check if your storage location is still the best choice.
Look at your backup schedule and see if it needs changes. Keeping your plan up-to-date ensures your site stays safe.
Troubleshooting

Sometimes, things go wrong with your WordPress backup. Don't worry, we've got you covered. Let's explore some common issues and how to fix them.
Backup Won't Start
If your backup won't start, first check your internet connection. A slow or weak connection can stop the backup process. Try restarting your router or moving closer to it.
Next, check if your backup plugin is up to date. An outdated plugin can cause problems. Visit the plugin page and update it if needed.
Backup Takes Too Long
Backups can be slow if your site has too many files. If your backup takes more than two hours, it might be time to clean up your site. Delete old files or unused plugins.
You can also try changing your backup schedule. Backing up during low-traffic times, like at night, can speed things up.
Backup Fails
If your backup fails, check your storage space. You might be out of space on your server or cloud storage. Delete old backups or increase your storage limit.
Another reason could be a conflict with another plugin. Temporarily disable other plugins and try the backup again. If it works, enable each plugin one by one to find the troublemaker.
Restore Issues
Sometimes, restoring a backup doesn't work as planned. If you can't restore, first make sure the backup file isn't corrupted. Try downloading it again from your storage.
If you still can't restore, contact your backup plugin's support team. They can guide you through the next steps to get your site back up.
By tackling these issues, you can keep your WordPress backups running smoothly. Remember, regular backups are key to a safe and secure site.
Conclusion
Backing up your WordPress site is a must. It's like saving your game progress; you don't want to lose it. With many tools out there, you can find one that fits you best.
Try using plugins with great features, like UpdraftPlus or Jetpack. They offer plans starting at $5 a month. These tools save your data and make recovery easy. Check their customer reviews to see what others think.
Next, set a regular backup schedule. This keeps your site safe from data loss. You might want to back up weekly or even daily, depending on how often you update.
For more tips, check out our related links. They'll help you dive deeper into backup strategies. Remember, a good backup plan saves you time and stress. Stay prepared, and keep your site secure.
Affiliate Disclosure: This article contains affiliate links. If you make a purchase through these links, we may earn a commission at no additional cost to you. We only recommend products and services we believe will add value to our readers.
Content Notice: This article was created with AI assistance and reviewed by our editorial team for accuracy, quality, and compliance. We use AI to help research and structure content, but all recommendations are based on thorough evaluation.