Best WordPress Backup Solutions Guide for 2026
The Ultimate Guide to WordPress Backup Solutions in 2026
Your website is your business, and losing it would be a disaster. In this guide, you'll learn the best backup tools and strategies to keep your WordPress site safe. We'll show you how to pick the right solution for your needs and budget.
Disclosure: This article contains This is an affiliate link. We may earn a commission at no cost to you.
affiliate links. We may earn a commission at no extra cost to you.
Introduction

We recommend trying NordVPN. Get NordVPN.
Your website holds hours of hard work. Photos, blog posts, and customer info all live there. What if it all vanished? That's where backups come in.
For best results, consider Cloudways. Try Cloudways.
A backup is a copy of your site saved somewhere safe. If something goes wrong, you can restore everything fast. In 2026, you have more backup options than ever.
Here's what you'll learn in this guide:
– The top 5 backup plugins for WordPress
– How to set up automatic daily backups
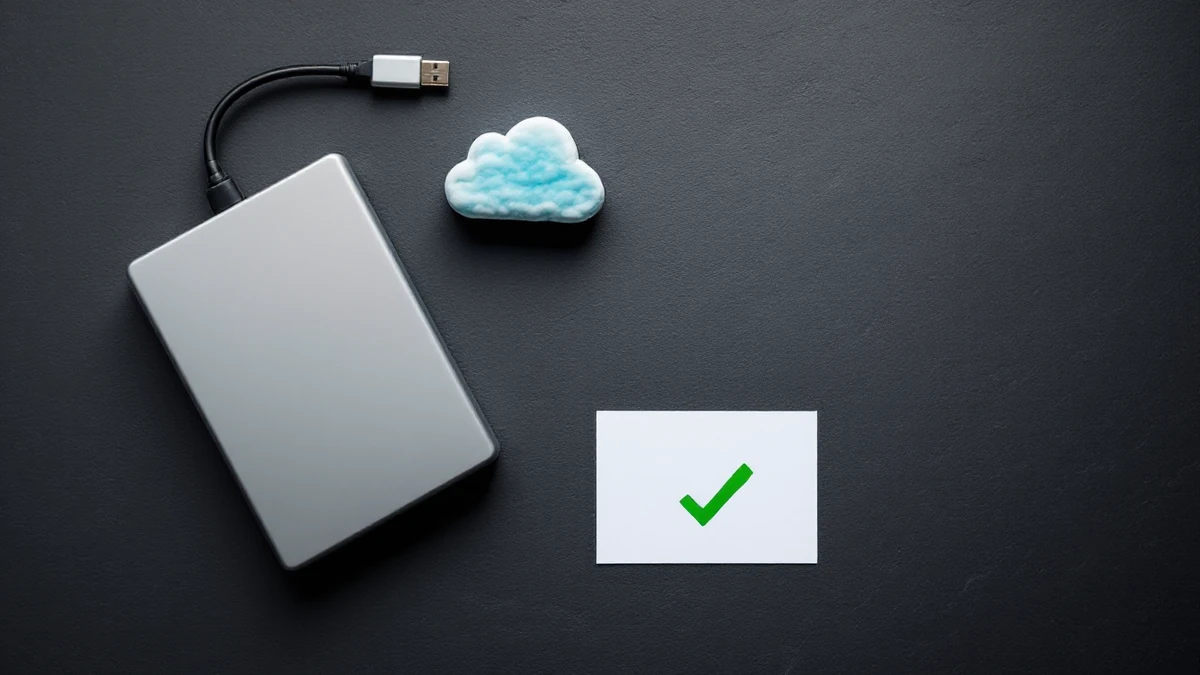
– Where to store your backups (cloud, local, or both)
– What to do when disaster strikes
This guide is for anyone who runs a WordPress site. You don't need to be a tech expert. Just follow the steps, and you'll be safe.
You'll need about 30 minutes to read this full guide. But you can jump to any section that matters most to you.
Why should you care? Here's a real example: A small business lost 3 years of customer data because they had no backup. It cost them $15,000 to rebuild. Don't let that happen to you.
Let's get started. Your website's safety is just a few clicks away.
What You Need

Before you start backing up your WordPress site, you'll need a few key things. Don't worry – you probably already have most of them.
Tools and Accounts
Here's your checklist:
- A backup plugin – We'll cover the best ones later. Most cost $0 to $100 per year.
- Cloud storage space – Try Google Drive (15GB free) or Dropbox (2GB free). For larger sites, get 100GB for about $20 a year.
- Your WordPress login – You need admin access to install plugins. If you don't have it, ask your site owner.
- A reliable internet connection – Big backups can take 10-30 minutes to upload.
What to Check First
Look at your current hosting plan. Some hosts, like SiteGround or Bluehost, offer free daily backups. That's a nice bonus, but you still need your own system.
Also, check your site's size. A small blog might be 500MB. An online store could be 5GB or more. This matters because it affects which plugin and storage plan you'll pick.
You're almost ready. Let's look at the best backup plugins next.
Step-by-Step Guide

Now let’s walk through the exact steps to set up a solid WordPress backup plan. You don’t need to be a tech wizard. Just follow along, and you’ll have your site covered in under an hour.
Step 1: Pick Your Backup Plugin
First, choose a backup plugin that fits your needs. For most people, UpdraftPlus is a great free option. It’s easy to use and works with many storage services.
If you want more features, try Jetpack VaultPress Backup. It costs about $10 per month and runs backups automatically. You don’t have to think about it.
For bigger sites, BlogVault is a solid pick. It starts at $9 per month and offers real-time backups. That means it saves changes as you make them.
Your goal here is simple: pick one plugin and install it. Don’t overthink it. Any of these will work well for a school project or personal blog.
Step 2: Install and Activate the Plugin
Go to your WordPress dashboard. Click on “Plugins” then “Add New.” Search for your chosen plugin by name.
Click “Install Now” and then “Activate.” You’ll see a new menu item appear, usually under “Settings” or “Tools.”
For example, UpdraftPlus adds a tab called “Backup/Restore.” Jetpack adds a “VaultPress” section. BlogVault gives you a dashboard link.
Once activated, take a moment to look around. You don’t need to change everything. Just get familiar with where things are.
This step takes about 5 minutes. You’ll know it’s done when you see the plugin’s main screen.
Step 3: Connect to a Storage Location
Your backup needs a safe place to live. Don’t store it on your own server. If your site crashes, the backup could crash too.
Instead, use a cloud service. Google Drive is free and works well. You get 15 GB of space for free. That’s enough for most small sites.
Dropbox gives you 2 GB for free. Amazon S3 costs about $1 per month for small backups. pCloud offers 10 GB free.
In your plugin’s settings, find the “Storage” or “Remote Storage” section. Click “Add” and follow the prompts. You’ll need to log in to your cloud account.
Once connected, your backups will go there automatically. You don’t have to do anything else.
Step 4: Set Your First Manual Backup
Before you set up automation, run a manual backup. This tests that everything works.
In your plugin, look for a button that says “Backup Now” or “Create Backup.” Click it.
A pop-up will ask what to include. Always check Database and Files. The database holds your posts and settings. Files include images and themes.
Leave the default options if you’re unsure. Click “Run Backup” and wait.
This usually takes 1 to 5 minutes. You’ll see a progress bar. Once it’s done, check your cloud storage. You should see a zip file there.
If you see the file, you’re on the right track. If not, double-check your storage connection.
Step 5: Schedule Automatic Backups
Now let’s set up backups to run on their own. This is the most important step.
Go to your plugin’s settings. Look for “Schedule” or “Backup Schedule.”
Set your database backup to run daily. This saves your content and settings. It’s small and fast.
Set your file backup to run weekly. Images and themes don’t change as often. Weekly is fine for most sites.
For the time, pick a low-traffic hour. Early morning works well, like 3 AM. Your site won’t slow down for visitors.
Save your settings. Your plugin will now run backups without you lifting a finger.
This step takes about 10 minutes. You’ll know it’s working when you see new backup files appear in your cloud storage each day.
Step 6: Test Your Backup (Do This Now)
A backup is useless if you can’t restore it. You must test it.
Many professionals trust Equalize Digital Accessibility Checker for wordpress accessibility checker plugin with detailed reporting. Try Equalize Digital.
In your plugin, find the “Restore” or “Backup Now” section. Look for your most recent backup file.
Click “Restore.” The plugin will ask what to restore. Choose Database and Files again.
The restore process will overwrite your site. Don’t worry—it’s using your backup data. Your current content will be replaced with the backup version.
Wait for the process to finish. It usually takes 2 to 10 minutes.
Once done, check your site. Look at a few pages and posts. Make sure everything looks normal.
If something’s wrong, you can restore again from a different backup. But most of the time, this test works fine.
Testing takes about 15 minutes. It’s worth every second.
Step 7: Set Up Email Notifications
You want to know when backups run. Most plugins can email you the results.
In your settings, find “Email Notifications” or “Reports.” Turn them on.
Choose to get an email after each backup. Some plugins let you get a weekly summary instead.
Enter your email address. Save the settings.
Now you’ll get a message every time a backup runs. If something fails, you’ll know right away.
This step takes about 2 minutes. It gives you peace of mind.
Step 8: Keep Multiple Backup Copies
Don’t rely on just one backup. Keep at least three recent copies.
Most plugins let you set how many backups to keep. In the settings, look for “Retention” or “Number of backups.”
Set it to keep 3 to 5 backups. Older ones will be deleted automatically.
For example, if you run daily backups and keep 5, you’ll have a week’s worth of data. If you need to go back further, you’re covered.
This prevents your storage from filling up. It also gives you options if a recent backup has problems.
Step 9: Check Your Backups Monthly
Set a reminder to check your backups once a month. It only takes 5 minutes.
Log into your cloud storage. Look for recent backup files. Make sure they’re not empty or corrupted.
You can also run a quick test restore on a test site. Some plugins let you do this without affecting your live site.
If everything looks good, you’re set. If not, fix the issue right away.
Monthly checks catch problems early. They save you from panic later.
Step 10: Add Extra Safety (Optional)
For important sites, add a second backup method. This is like having a spare tire.
Use a different plugin or a manual download. For example, use UpdraftPlus for daily backups and also download a copy to your computer once a month.
You can also use a service like WP Time Capsule. It costs about $8 per month and offers real-time backups. It’s great for busy sites that change often.
Another option is cPanel backups. Most hosting companies offer this. Log into your hosting account and look for “Backup” in cPanel. You can download a full site backup there.
This extra layer costs a little time or money. But it’s worth it for sites you can’t afford to lose.
That’s your complete step-by-step guide. Follow these steps, and your WordPress site will be safe in 2026. You’ll sleep better knowing your hard work is protected.
Troubleshooting

Even the best backup plans can hit a snag. Don’t worry—most issues are easy to fix. Here’s how to handle the most common problems.
Backup Fails to Complete
If your backup stops halfway, check your server space first. You need at least 2 GB of free space for a full site backup. If you’re low, delete old files or upgrade your hosting plan.
Another common issue is a slow internet connection. A site with 500 MB of data can take 15-20 minutes to back up. Try running backups late at night when your network is less busy.
Can’t Restore Your Site
Restoring a site can fail if the backup file is broken. Always test your backup right after you make it. Use a staging site—a copy of your real site—to check if the restore works.
If the restore still fails, your plugin might be outdated. In 2026, most backup tools update every 2-3 weeks. Make sure you’re using the latest version. You can check for updates in your WordPress dashboard.
Backup Files Are Too Large
Large backups can slow down your server. If your file is over 1 GB, split it into smaller parts. Many plugins let you set a max file size of 500 MB per part.
You can also skip files you don’t need. For example, don’t back up your cache folder or old themes you never use. This can shrink your backup by 30-50%.
Plugin Conflicts
Sometimes two plugins don’t get along. If your backup plugin stops working, turn off other plugins one by one. After each one, try the backup again. This helps you find the problem.
If you’re still stuck, contact your plugin’s support team. Most offer live chat or email help within 24 hours. They’ve seen your issue before and can guide you through it.
Conclusion
You've learned the key steps to back up your WordPress site. Now it's time to put that knowledge to work. Don't wait until you lose your data to take action.
Start with a free plugin like UpdraftPlus to test the process. You can back up a small site in under 5 minutes. If you run a business site or online store, think about a paid plan. Services like Jetpack VaultPress Backup cost about $10 per month and run automatically.
Here's your next move: pick one backup method and test it today. Restore a test site to make sure your backups work. Then set a regular schedule—daily for active sites, weekly for quiet ones.
For more help, check our guides on choosing backup plugins and restoring your site from scratch. Your data is worth protecting. Start now, and you'll sleep better knowing your hard work is safe.
Affiliate Disclosure: This article contains affiliate links. If you make a purchase through these links, we may earn a commission at no additional cost to you. We only recommend products and services we believe will add value to our readers.
Content Notice: This article was created with AI assistance and reviewed by our editorial team for accuracy, quality, and compliance. We use AI to help research and structure content, but all recommendations are based on thorough evaluation.